How to Build a High-Converting Landing Page with WordPress (Step-by-Step)
A step-by-step tutorial showing you how to create landing pages that convert using WordPress and a page builder. Includes design tips and real examples.
A great landing page can be the difference between a visitor bouncing and a visitor becoming a customer. In this step-by-step tutorial, we will build a high-converting landing page using WordPress and a page builder.
By the end of this guide, you will have a professional landing page that follows proven conversion principles — no coding required.
What Makes a Landing Page Convert?
Before we start building, let us understand the anatomy of a high-converting landing page:
- A clear, benefit-driven headline — tells visitors exactly what they get
- Supporting subheadline — elaborates on the promise
- Hero image or video — shows the product/service in action
- Social proof — testimonials, logos, stats
- Benefits section — what the visitor gains (not features)
- A single call-to-action — one clear next step
- Urgency or scarcity — a reason to act now
The key principle: one page, one goal. Remove everything that does not drive toward that goal — navigation, sidebar, footer links, anything that could distract.
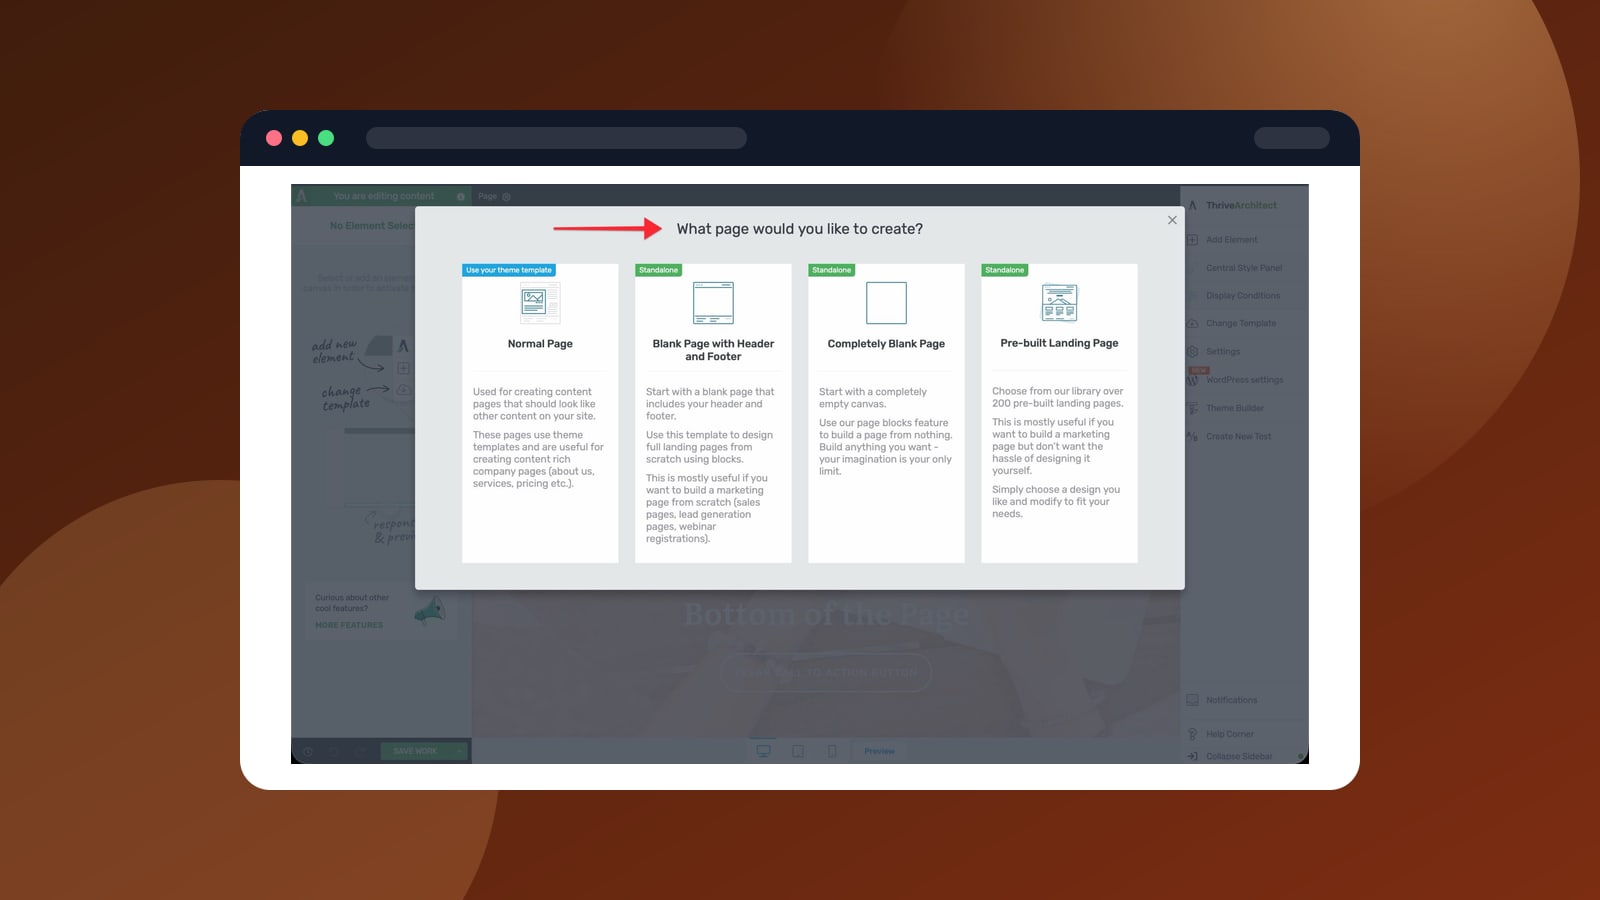
Step 1: Choose Your Page Builder
You need a visual page builder to create landing pages efficiently. Our top three recommendations:
- Elementor Pro — most design flexibility, best for visual customization
- Beaver Builder — cleanest code, best performance
- Thrive Architect — built specifically for conversion-focused pages
For this tutorial, we will use Elementor Pro since it is the most popular and has the largest template library. The principles apply regardless of which builder you choose.
Step 2: Pick a Landing Page Template
Do not start from a blank canvas. Every major page builder includes landing page templates designed by professional designers. Starting with a template saves hours and ensures your page follows proven layout patterns.
In Elementor:
- Create a new page in WordPress
- Click "Edit with Elementor"
- Click the folder icon to open the template library
- Filter by "Landing Pages"
- Preview templates and insert the one closest to your goal
Step 3: Write Your Headline
Your headline is the single most important element on the page. It should:
- Be specific — "Grow Your Email List by 300% in 30 Days" beats "Grow Your Email List"
- Focus on benefits — what the visitor gets, not what you do
- Create curiosity — make them want to read more
Headline Formulas That Work
- "How to [Achieve Desired Outcome] Without [Common Objection]"
- "[Number] Ways to [Achieve Goal] in [Timeframe]"
- "The [Adjective] Way to [Desired Outcome]"
- "Stop [Pain Point]. Start [Desired Outcome]."
Step 4: Add Social Proof
Social proof is the most powerful conversion element after your headline. Types of social proof you can add:
Testimonials
Real quotes from real customers with names and photos. Three testimonials is the sweet spot — enough to build trust without overwhelming.
Trust Logos
If well-known brands use your product, show their logos. A simple row of 4-6 logos instantly builds credibility.
Statistics
Numbers are compelling. "Join 10,000+ subscribers" or "Rated 4.8/5 by 500+ users" tells visitors they are not the first to trust you.
Step 5: Build Your Benefits Section
Features tell, benefits sell. Instead of listing what your product does, explain what the customer gains:
| Feature (Avoid) | Benefit (Use This) |
|---|---|
| "24/7 customer support" | "Get help whenever you need it — day or night" |
| "Cloud-based platform" | "Access your work from anywhere, on any device" |
| "AI-powered analytics" | "Know exactly what is working without reading spreadsheets" |
Use icons or simple illustrations next to each benefit for visual appeal.
Step 6: Design Your CTA Button
Your call-to-action button should:
- Stand out visually — use a contrasting color from the rest of the page
- Use action words — "Get Started Free" beats "Submit"
- Reduce anxiety — add microcopy like "No credit card required" or "Cancel anytime"
- Be above the fold AND repeated — place it in the hero section and after each major section
CTA Button Copy That Converts
- "Start My Free Trial"
- "Get Instant Access"
- "Download the Free Guide"
- "Join 10,000+ Happy Customers"
- "Yes, I Want [Desired Outcome]"
Step 7: Optimize for Mobile
Over 60% of web traffic is mobile. Every element on your landing page must look great on small screens:
- Test on real devices — not just the builder's responsive preview
- Stack columns vertically — side-by-side layouts break on mobile
- Increase button sizes — make CTAs easy to tap
- Reduce text — mobile readers scan, they do not read
- Test load speed — use Google PageSpeed Insights for mobile-specific recommendations
Step 8: Remove Distractions
This is where most landing pages fail. For maximum conversions:
- Remove the site header/navigation — use Elementor's "Canvas" template (no header or footer)
- Remove the sidebar — landing pages should be full-width
- Remove footer links — or keep only legal requirements (privacy policy)
- Remove social media links — you want them to convert, not leave
Common Landing Page Mistakes
- Too many CTAs — if you ask for three things, visitors do none
- Weak headlines — generic headlines kill conversions
- No social proof — visitors do not trust your claims without evidence
- Slow load time — every extra second reduces conversions by 7%
- No mobile optimization — you are losing 60%+ of your audience
Final Checklist
Before you publish your landing page, verify:
- Headline clearly communicates the benefit
- CTA button is visible above the fold
- Social proof is present (testimonials, logos, or stats)
- Page loads in under 3 seconds
- Mobile layout looks great
- Navigation is removed (Canvas mode)
- Form works and sends to correct destination
- Thank you / confirmation page is set up
- Analytics tracking is in place
Next Steps
Once your landing page is live:
- Drive traffic — social media, email, paid ads
- A/B test — try different headlines, CTAs, and layouts. Thrive Optimize makes this easy.
- Analyze and iterate — check your conversion rate weekly and improve